Get StartedExplore Product
ENVI

Features

Everything connected
to your model.

Every feature reads from the same 3D model. Filter by discipline and check the status of each one.

Filter15 features shown

Available: works in the current SketchUp 2026 extension. In development: being built and tested now. Planned: on the roadmap, not available yet.

Illustration: Guided Project Window
Available

Guided Project Window

Project ManagementDesign

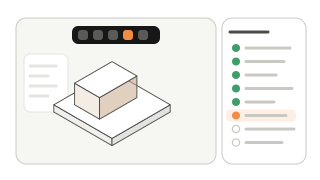
An 8-step window that walks through the project, from project type to export, and marks each step as it is completed.

How it works

  1. Open the Project window over SketchUp’s default tray.
  2. Work through the steps; the next one is highlighted.
  3. Step controls appear directly on the viewport.

Why it helps

Nothing is skipped, and the model stays visible while you work.

In practice

A designer new to the team follows the same steps as everyone else and delivers a complete set.
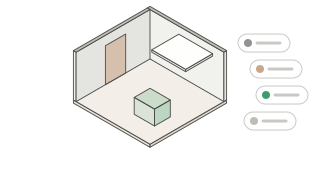
Illustration: 3D Model Management
Available

3D Model Management

Design

MODELONCE recognises walls, floors, ceilings and doors by their shape and name, and organises furniture by room with item codes.

How it works

  1. Scan the model; objects are classified automatically.
  2. Correct any object by assigning its type.
  3. Assign furniture to rooms; codes are numbered per room.

Why it helps

The model becomes structured data that every document can read.

In practice

A sofa assigned to the living room carries the same code on the layout plan and on its own sheet.

Illustration: Rooms & Zoning
Available

Rooms & Zoning

Design

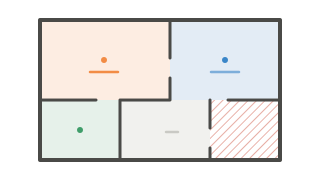
List the rooms and outline them on a clean top view: click inside a room, click its floor or draw it by hand.

How it works

  1. Add rooms from common names or type your own.
  2. Click a coloured cell on the top view to turn it into a room.
  3. Area, ceiling height and paint area are calculated.

Why it helps

Rooms drive codes, areas and the drawings each object belongs to.

In practice

Floor areas not yet assigned to any room are hatched in red, so gaps are easy to spot.

Illustration: Technical Documentation
Available

Technical Documentation

Documentation

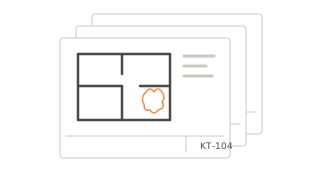
Complete drawing sets built from the model, grouped into general, architecture, electrical & plumbing and estimate sections, each with its own cover.

How it works

  1. Preview every sheet in a grid and choose what to export.
  2. Edit on the sheet: dimensions, notes, text and revision clouds.
  3. Export to PDF, DXF or HTML.

Why it helps

Sheet numbers stay continuous within each code, and only affected sheets are rebuilt after a change.

In practice

After moving a wall, the designer updates the set; sheets that did not change are reused straight away.

Illustration: Automatic Shop Drawing
Available

Automatic Shop Drawing

ProductionDocumentation

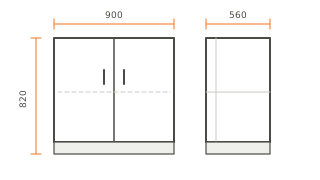
Select a cabinet and MODELONCE builds its production pages: projections, sections, perspective, panel list and per-panel details.

How it works

  1. Select one or more cabinets in SketchUp.
  2. Review the panel list, edge banding and grain.
  3. Confirm the joints; the drilling sheets follow.

Why it helps

The workshop receives drawings that match the model, without redrawing it in 2D.

In practice

Pages align on one scale with equal heights in a row, so a whole kitchen reads as one consistent set.

Illustration: Gypsum Ceilings & Framing
Available

Gypsum Ceilings & Framing

EngineeringDocumentation

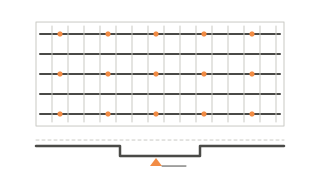
Stepped gypsum ceilings are recognised and laid out with framing based on the manufacturer’s installation manual.

How it works

  1. Model the ceiling boards; levels and steps are detected.
  2. Set framing spacing per room and tick the trims.
  3. Get ceiling plans, framing sheets, sections and installation details.

Why it helps

Framing counts match the plan, and a 3D framing model lets you check before building.

In practice

A two-layer ceiling counts both layers of boards, while the client quote stays per m² of ceiling.

Illustration: Electrical
Available

Electrical

Engineering

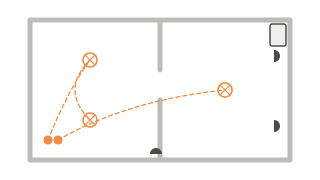
Place switches, sockets and lamps as 3D objects, link lamps to switches and organise circuits by room.

How it works

  1. Pick a device and click the wall or ceiling; type distance and height for precision.
  2. Use your own lamp models from a personal library.
  3. Get suggested circuits, then choose breakers and cables.

Why it helps

Plans, elevations and single-line diagrams are drawn from the devices you placed.

In practice

Wall-chasing elevations show the conduit route for each box: automatic, up to the ceiling, straight into the panel or through another box.

Illustration: Plumbing
Available

Plumbing

Engineering

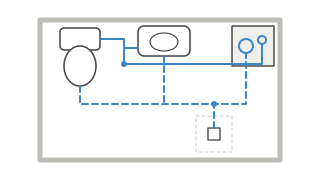
Supply and drainage pipes, risers, technical shafts and sanitary fixtures placed in 3D, with route options to compare.

How it works

  1. Place a fixture; its connection points are placed with it.
  2. Compare two or three drainage routes by length, elbows and floor depth.
  3. Create the pipes; fittings and route codes are added.

Why it helps

Plumbing plans, fixture elevations and pipe tables come straight from the routes you chose.

In practice

A brand catalogue fills in fixture data with its source, marked “needs confirmation” until you check it.

Illustration: Air-Conditioning
Available

Air-Conditioning

Engineering

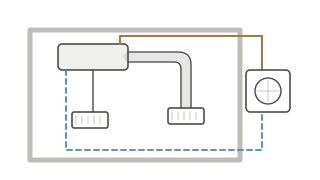
Indoor and outdoor units, copper and condensate pipe routes, grilles and ducts in 3D.

How it works

  1. Place the units and connect indoor to outdoor.
  2. Choose a route for copper and condensate pipes.
  3. Add grilles, pick a duct route and build the ducts in 3D.

Why it helps

Mounting elevations and AC layouts show positions, pipes and clearances.

In practice

Each route option shows its length, elbows and wall penetrations before you create it.

Illustration: Flooring
Available

Flooring

DesignDocumentation

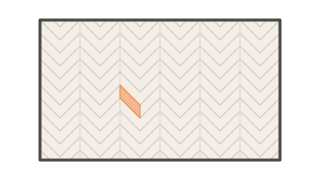
Tile, straight plank and herringbone layouts for each room, with tile size, joint and starting tile.

How it works

  1. Choose a pattern for a room.
  2. Set tile size, joint and the first tile.
  3. Build the floor in 3D; the flooring plan updates.

Why it helps

The flooring plan draws every tile exactly as it is laid.

In practice

Adjoining rooms at the same level continue the same pattern; rooms at different levels stay separate.

Illustration: Bill of Materials
Available

Bill of Materials

Production

Material and component lists taken from the model: panels, hardware, ceiling framing, electrical materials and pipe fittings.

How it works

  1. Panel lists show name, quantity, size and material.
  2. Export a CSV cut list for saws or CNC.
  3. Hardware is counted from confirmed joints only.

Why it helps

Workshops order and cut from the same data the designer modelled.

In practice

A workshop opens the cut list in Excel and prepares it for the panel saw or CNC.

Illustration: Bill of Quantities
In development

Bill of Quantities

Project Management

A complete, project-wide bill of quantities measured from the model.

How it works

  1. Today: quantities per category feed the estimate overview.
  2. Ceiling, electrical and plumbing quantities are already measured.
  3. In development: the complete, project-wide BOQ.

Why it helps

Quantities come from the model rather than a manual take-off.

In practice

The goal: contractors price work items straight from the designer’s model.

Illustration: Cost Estimation
Available

Cost Estimation

Project Management

An estimate overview: budget, eight categories with quantities from the model, and the unit prices you enter.

How it works

  1. Enter the expected total budget.
  2. Enter unit prices and other costs for each category.
  3. Print an A4 summary, or save it as PDF, for the homeowner.

Why it helps

Prices are always yours: saved on your machine for the next project, never set by MODELONCE.

In practice

The client sees a clear quote; the margin stays on an internal sheet that is not exported.

Illustration: Schedule & Progress
Available

Schedule & Progress

Project Management

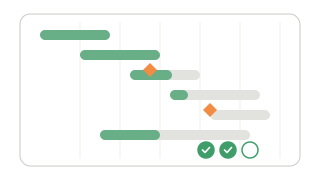
Start and end dates, progress and a construction schedule for each category, with milestones.

How it works

  1. Set dates and progress for each category.
  2. Add milestones such as material supply or completion.
  3. Report completion with photos and record each party’s confirmation.

Why it helps

Progress counts only when homeowner, supervisor and contractor have all confirmed.

In practice

Until the web portal exists, confirmations given by phone or on paper are recorded in the extension and marked as such.

Illustration: Web Portal
Planned

Web Portal

Project Management

A shared online space where each company manages its own clients and sends project links.

Not available yet.

How it works

  1. Each company has its own account and clients.
  2. Homeowner, supervisor and contractor open the project on their phones.
  3. Milestones are confirmed online with photos.

Why it helps

Everyone sees the same schedule and evidence without passing files around.

In practice

Planned. We will announce it on this site when it is ready.

MODELONCE

Want to see it on your own project?

Tell us about your team and the projects you work on.